
Production stages
From a printed piece to a finished mask
Each stage prepares the next. Printing creates the base, while workshop work gives it its surface, colour and finish.
-
Workshop photo to add
Model preparation
The file is prepared for the model before the print starts.
-
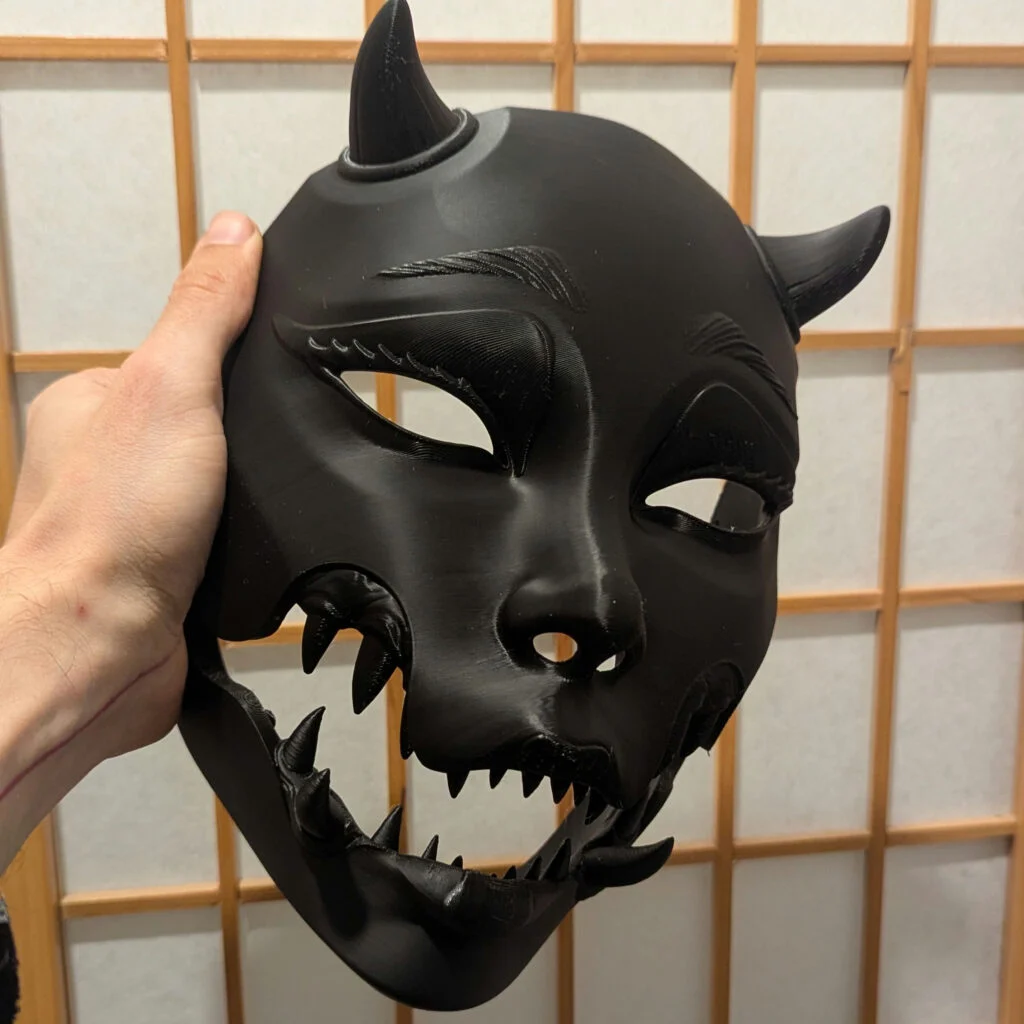
PETG-printed base before sanding and painting by hand. PETG 3D printing
The base of the mask is printed in PETG, layer by layer.
-
Workshop photo to add
Preparation
Supports are removed and the surface is prepared before sanding.
-
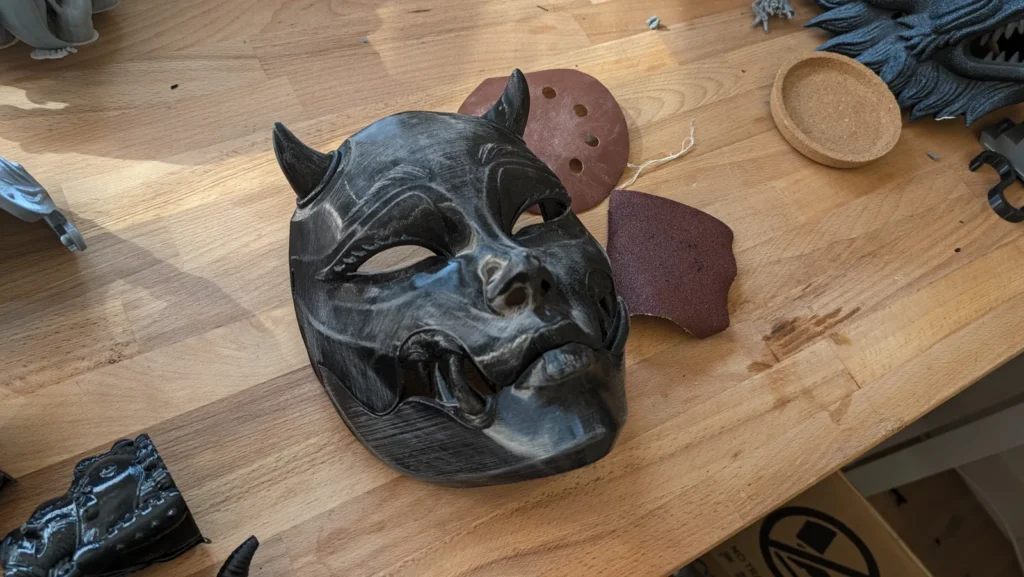
Kuchisake Onna during sanding in the Dai Yokai workshop in Brittany. Surface preparation marks remain visible before painting. Sanding
Surfaces are sanded progressively without erasing relief or small details.
-
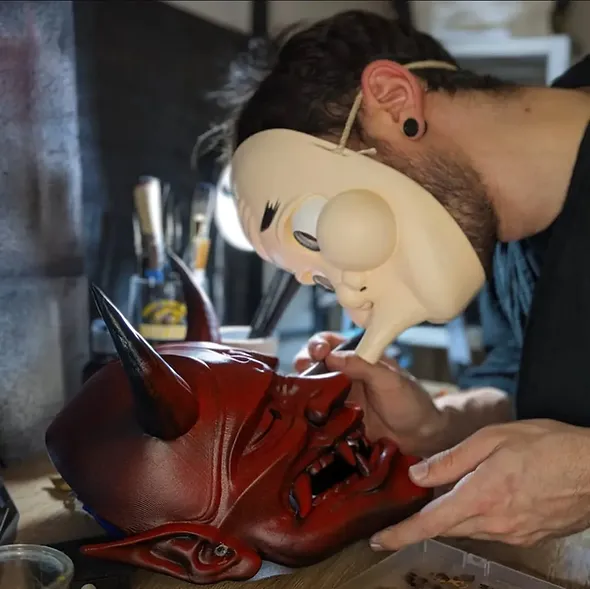
Painting and details
Colour and detail are worked by hand, one piece at a time.
-
Workshop photo to add
Finishing and inspection
The piece receives its final protection, then is checked before packing.
In the workshop
Every mask actually goes through the workshop
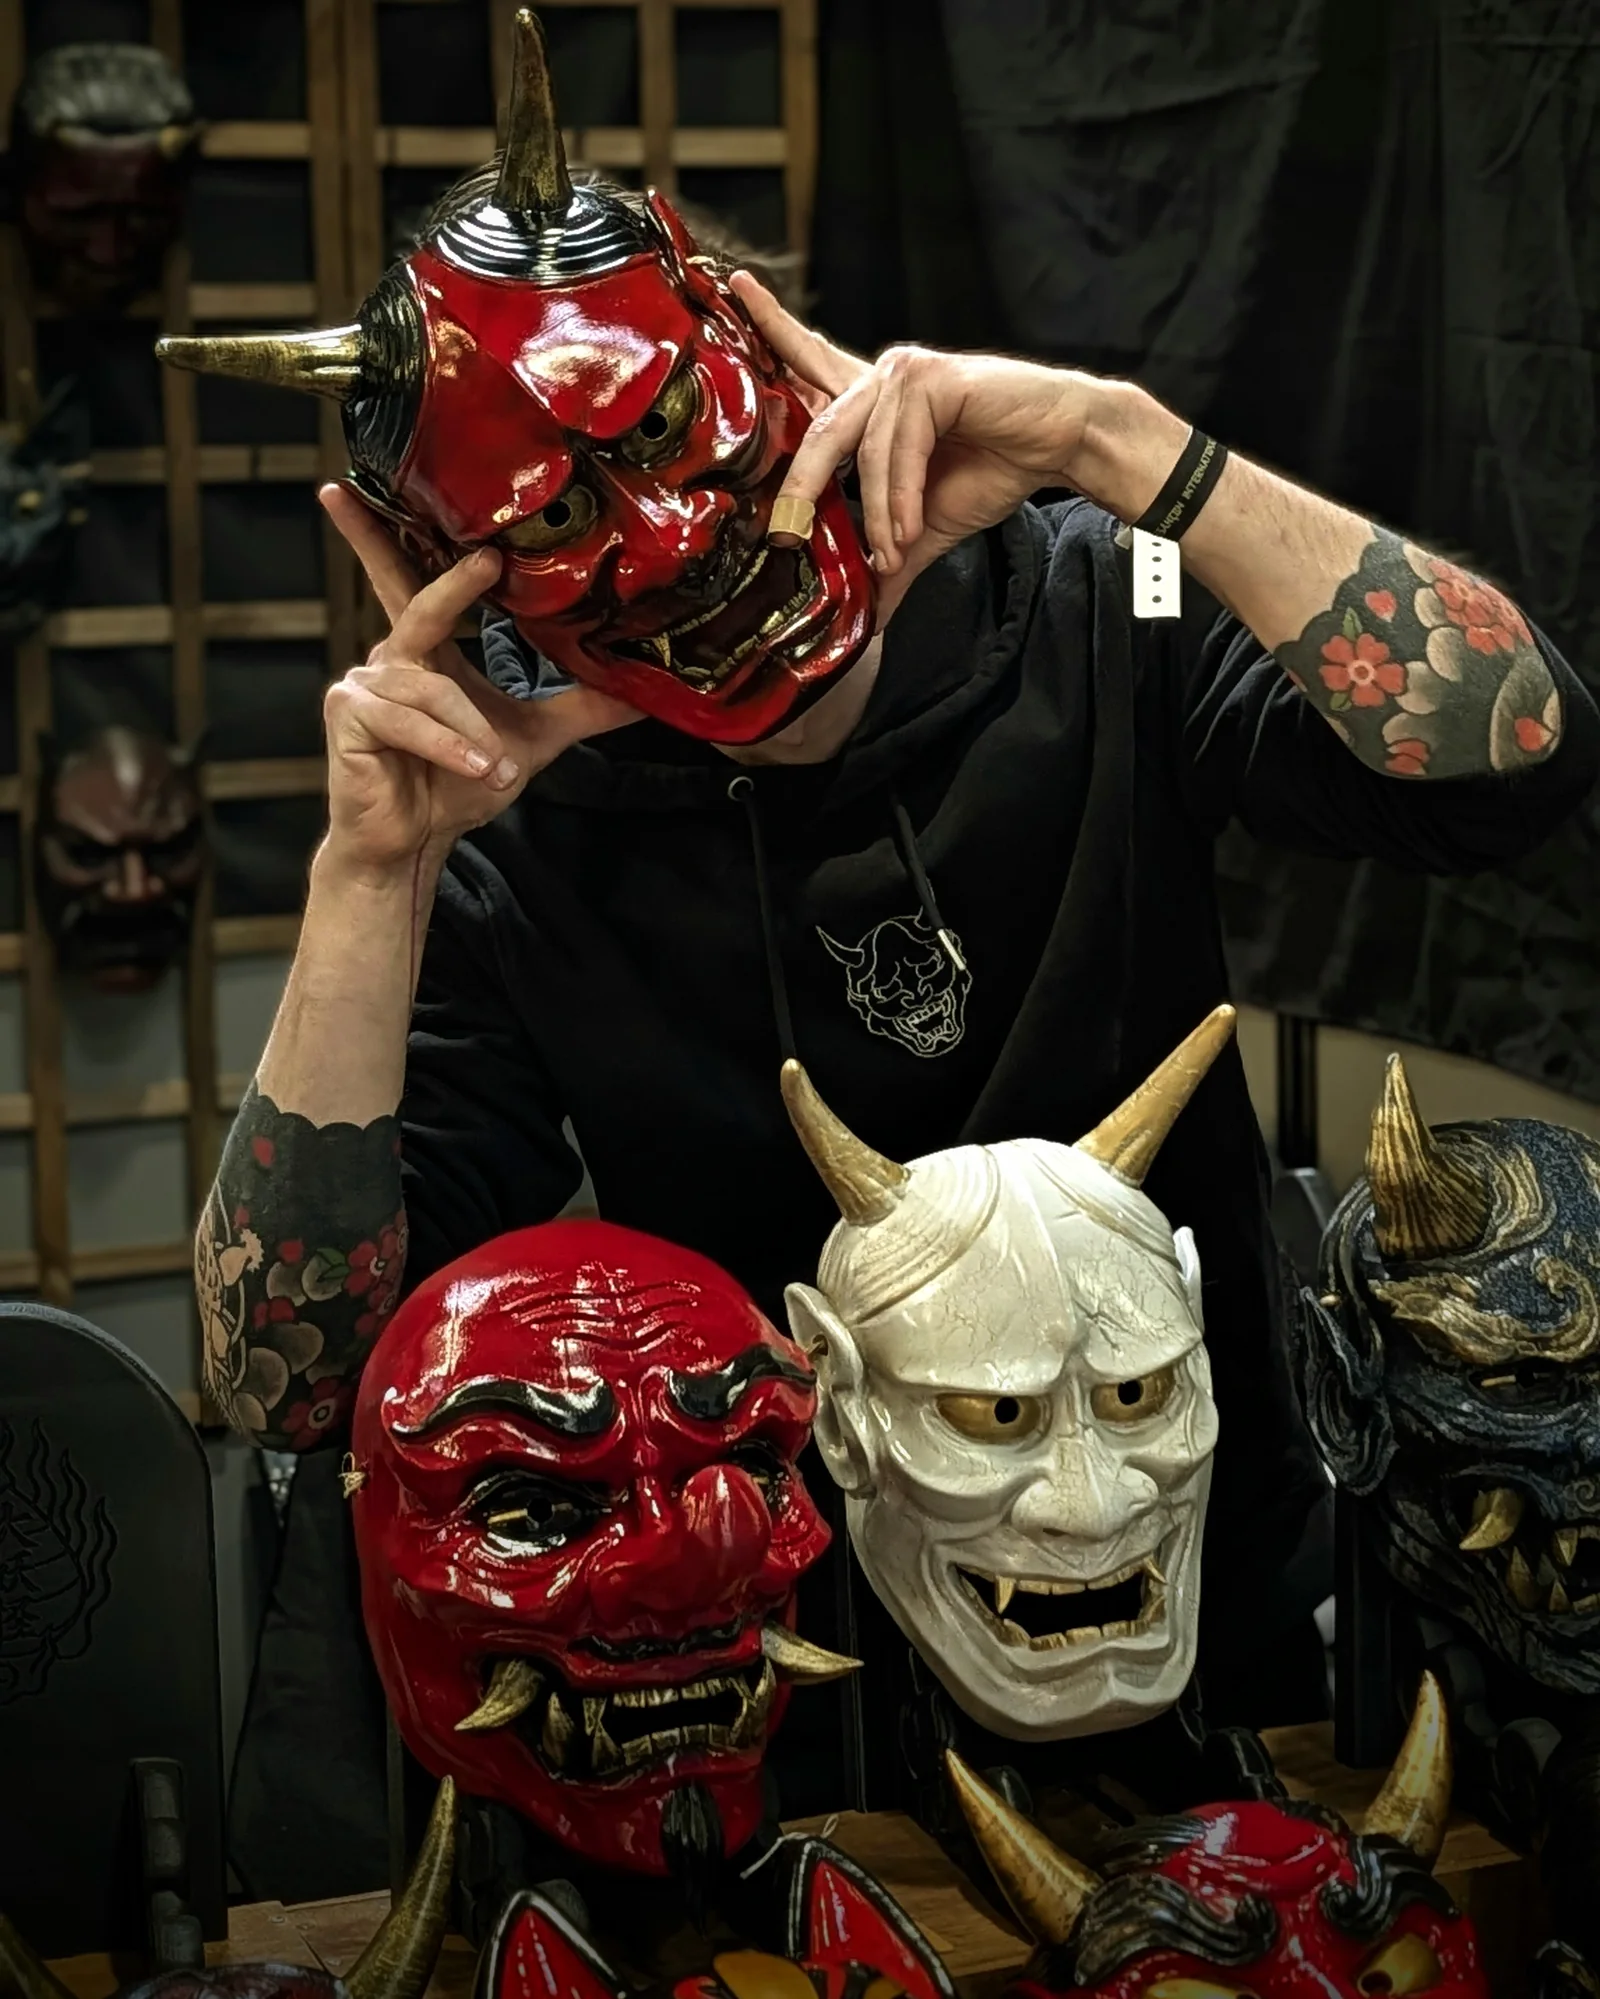
3D printing is only the starting point. Once printed, I remove the supports, prepare and sand the surfaces, then paint, detail and finish each piece by hand in Brittany.
In the workshop
The work, up close
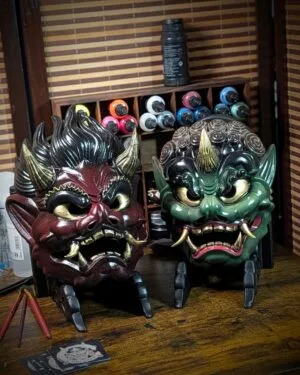
Finished pieces