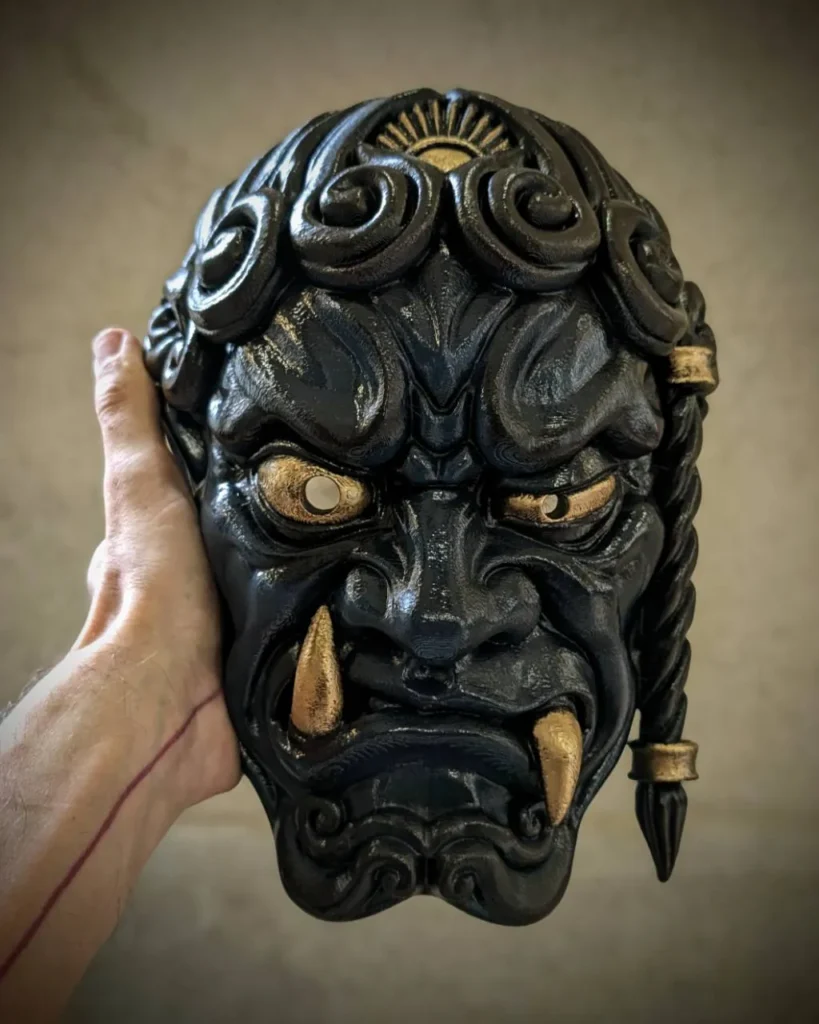
To bring the braids toward the center, put the left-braid model on your left and the right-braid model on your right. Swap the masks to bring the braids to the outer edges.
The product names refer to the mask’s own sides. When you face the right-braid mask, its braid appears on the left of the photo. The two arrangements below use the same front-facing photos in a different order.
Braids toward the center
Place the left-braid model, shown in blue, on your left. Place the right-braid model, shown in red, on your right. Both braids sit next to the gap between the faces.
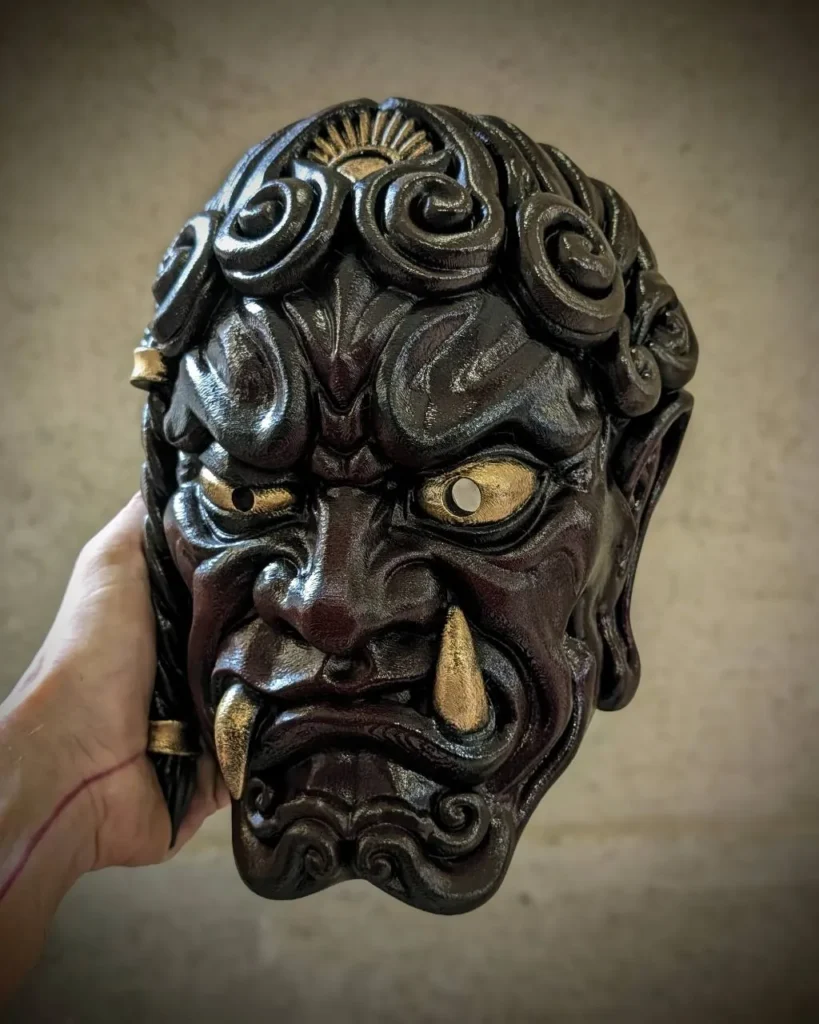
Braids toward the outer edges
Swap the two masks so the red one sits on the left and the blue one on the right. The bare sides of the faces now meet at the center, and the braids trace the outside edges of the pair.
Choose the shape, then the finish
Choose the braid side first, then pick red, blue or yellow on that product page. All three finishes use the same sculpt within each model. If you want a single braid in the display, pair either model with the mask without a braid. For the figure and its attributes, read the guide to Fudō Myōō.