
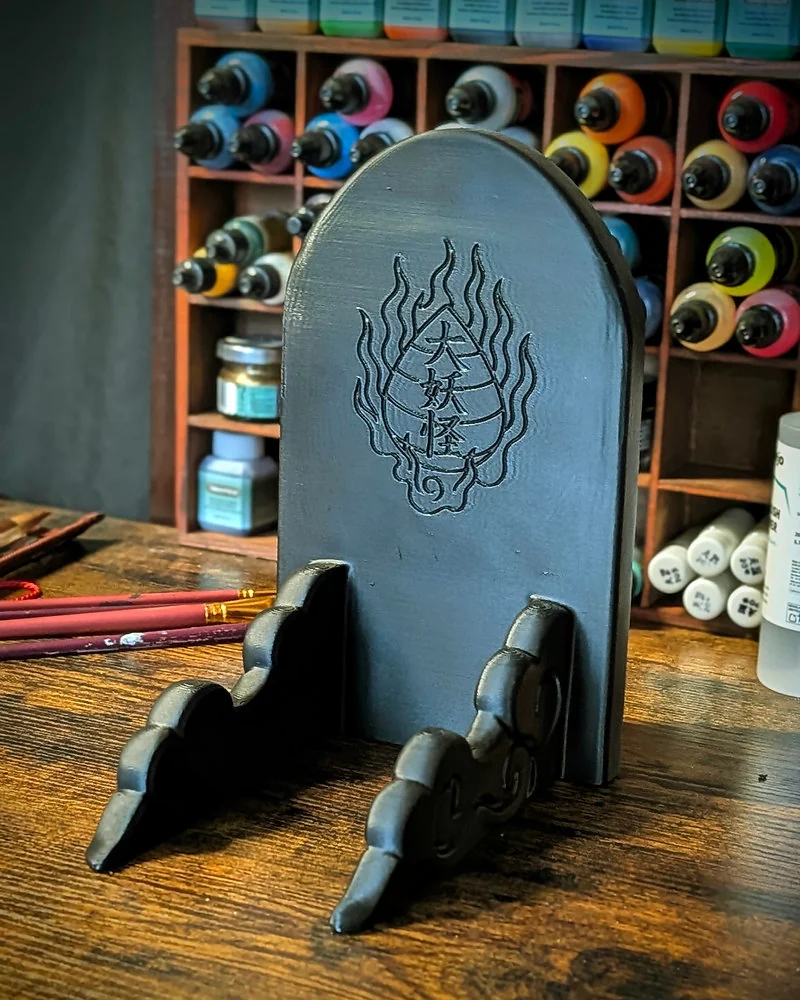
To display a Japanese mask safely, first check its finished weight, dimensions, centre of gravity and intended hanging point. Match the support to the wall or shelf, keep the piece away from direct sun and heat, and avoid locations where a fall could hurt someone. Use the manufacturer’s instructions for every hook, anchor, strip or stand.
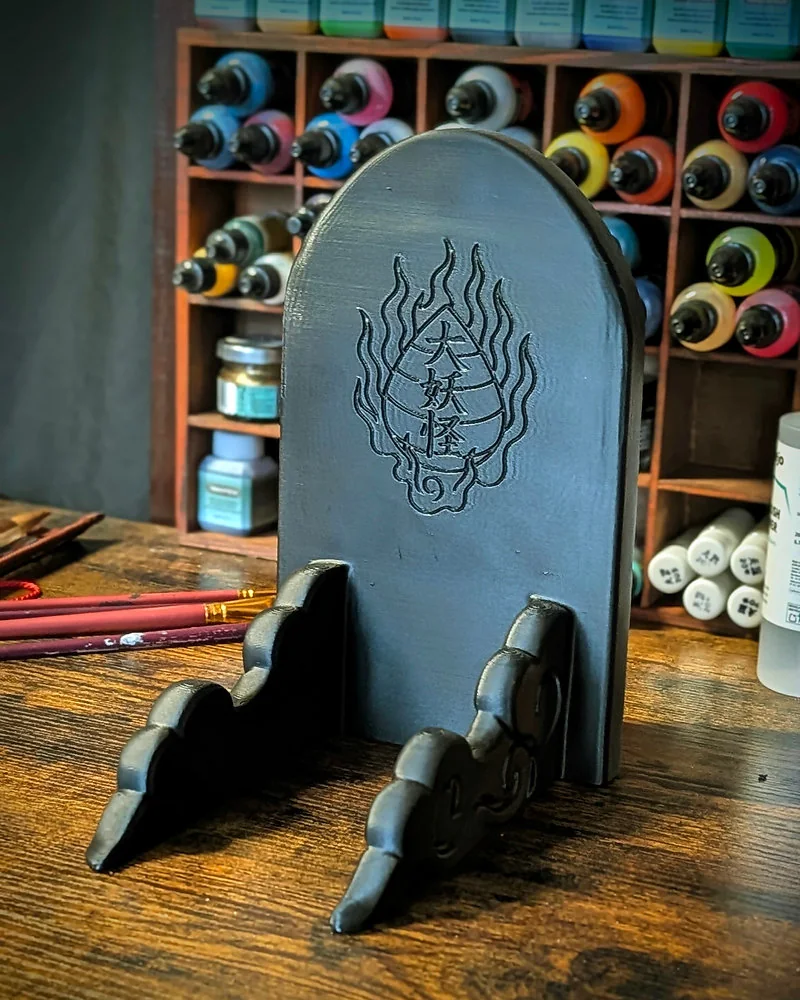
Wall mount, stand, shelf or display case?
The display method should follow the object, not a decorating rule. A wall mount works well when the mask has a documented hanging point and the wall can take the correct hardware. A stand avoids drilling, but it needs a stable base and enough depth. A shelf is useful for grouped objects, while a display case adds protection from dust and accidental contact.
| Display method | Best suited to | Main checks |
|---|---|---|
| Wall mount | A mask with a documented hanging point and a suitable wall | Wall substrate, rated hardware, mask depth, balance and fall zone |
| Tabletop stand | A mask that can rest on supported internal areas | Base width, contact points, shelf depth and tipping risk |
| Shelf or picture ledge | Small groups and displays that change often | Shelf rating, edge clearance, vibration and restraint |
| Display case | Dust protection, public spaces and fragile projections | Internal depth, stable support, heat from lighting and access |
| Custom mount | Unusual shapes, heavy pieces or professional installations | Maker approval, load path, finish protection and installer competence |
Measure the finished mask before choosing hardware
Do not choose a hook from the material name alone. Measure the complete mask with paint, varnish, straps and accessories attached. Record its height, width, depth and finished weight. The depth matters because a mask that projects far from the wall creates leverage and may rotate or pull away from a shallow hook.
Identify the intended load-bearing point. It may be a built-in loop, a keyhole plate, a wire or a separate mount, but this varies by model. Do not assume every Dai Yokai mask uses the same system. Never hang from horns, fangs, elastic straps, thin decorative edges or an attachment whose construction is unknown.
Identify the wall before buying a hook or anchor
Drywall, plaster over lath, solid masonry, hollow block, wood panelling and tile require different fixings. Paint color does not reveal what is behind the surface. If you cannot identify the substrate, if services may run through the wall, or if the piece is heavy or valuable, ask a competent installer before drilling.
| Surface | What must be established | Do not assume |
|---|---|---|
| Drywall or plasterboard | Board thickness, stud position and the fixing’s tested use | That any plastic plug carries the same load |
| Traditional plaster or lath | Wall construction and a fixing that will not crack the finish | That a drywall anchor is appropriate |
| Solid masonry | Brick, stone or concrete type and correct drill/fixing combination | That the mortar joint is always the best location |
| Hollow block | Void shape and a fixing designed for hollow masonry | That a solid-wall plug will expand correctly |
| Wood or stud | Sound timber and adequate screw engagement | That thin panelling is structural |
| Tile | Tile type, backing material and safe drilling location | That adhesive or drilling is risk-free |
| Unknown wall | Professional identification | That a light-looking mask needs no assessment |
Mechanical fixings and adhesive products
For a mechanical fixing, use hardware designed for the confirmed substrate and follow its instructions for hole size, installation and load. The published capacity applies only under stated conditions. The mask’s attachment must also engage securely and prevent the piece from jumping off the hook if a door slams or the wall vibrates.
Adhesive strips and hooks are product-specific, not a universal no-drill solution. 3M, for example, publishes different weight limits, surfaces and exclusions for different Command products. Its guidance includes waiting after painting, avoiding wallpaper and not hanging certain products above beds or with valuable items. Read the exact package and regional instructions rather than copying a load figure from another model.
A curved hollow mask often gives little flat area for an adhesive strip. Do not attach adhesive directly to painted or varnished surfaces unless the mask maker approves it. A rated wall hook that engages a documented hanging point may be more appropriate, but the wall and the whole load path still need to be checked.
Choose a location with a safe fall zone
Avoid mounting a mask above a bed, sofa, chair, changing table or another place where people remain underneath it. Also avoid door swing, narrow circulation routes and areas where bags or clothing can catch a projection. In homes with children or pets, use a higher secure location or an enclosed display.
For tattoo studios, shops and convention booths, the display is part of a public space. Consider accidental contact, vibration, cleaning routines and staff access. A mechanical fixing, discreet secondary retention or a professional installation may be appropriate. Do not rely on a decorative elastic strap as a safety restraint.
| Risk check | Question before installation | Safer response |
|---|---|---|
| Falling object | Could the mask strike a person or valuable object? | Move the location or use an appropriate secured installation |
| Snagging | Can a sleeve, bag, curtain or door catch a horn or strap? | Increase clearance or use an enclosed display |
| Vibration | Does a door, speaker, machine or busy floor shake the support? | Use positive retention and inspect more often |
| Heat and moisture | Is the location near a radiator, stove, shower or damp wall? | Choose a stable indoor environment |
| Public access | Can visitors touch or lift the piece? | Use distance, a case or a secured stand |
| Cleaning access | Can the mask be removed and supported safely? | Leave hand clearance and document the removal method |
How high should a mask be displayed?
Eye level is a useful starting point, but there is no universal height such as 150 or 160 cm. The main viewing position may be seated, standing or across a room. A large mask above furniture needs different spacing from a small piece in a hallway. The hanging point may also sit well above the mask’s visual centre.
Make a paper template using the mask’s width and height. Mark the hanging point on the template, tape it temporarily to the wall and view it from the entrance, seating area and side angles. Check clearance from furniture, doors and lighting before making a hole. This also helps plan a group without repeatedly handling the masks.
Lighting without unnecessary heat or fading
Side lighting can reveal the relief of horns, eye sockets and painted texture, but it is an aesthetic choice, not a rule. Frontal light may be useful when even color and documentation matter. Use an adjustable light so you can balance shape, glare and shadow for the specific mask.
The Canadian Conservation Institute explains that visible light can fade colors, UV can yellow or weaken materials, and infrared can heat an object. It recommends eliminating direct daylight and intense close lamps for painted collections. For a home display, avoid direct sun, keep lamps at a sensible distance and turn decorative lighting off when it is not needed.
| Lighting choice | Useful effect | Care point |
|---|---|---|
| Soft ambient light | Shows the whole piece evenly | Keep the mask away from direct daylight |
| Adjustable side light | Emphasizes depth and texture | Check glare and avoid intense close placement |
| Dimmable LED | Makes intensity easier to control | Choose quality fittings and manage exposure time |
| Light from below | Creates a dramatic shadow pattern | Use only where the effect does not obscure the piece or heat it |
| Window light | Changes naturally during the day | Do not allow direct sun to fall on the painted surface |
Displaying several masks without guesswork
There is no rule that three masks work and five do not. A successful group depends on wall size, mask scale, color, depth and viewing distance. Start with paper templates and keep enough clearance to remove one piece without touching the others. Aligning visual centres can feel calm; an asymmetric arrangement can feel more dynamic.
Choose one organizing principle, such as shared color, similar scale, a folklore theme or a deliberate contrast. Keep mounting methods consistent where practical, but assess every mask individually. A larger or deeper piece may require different hardware even when the layout appears symmetrical.
Mask meaning does not dictate the room
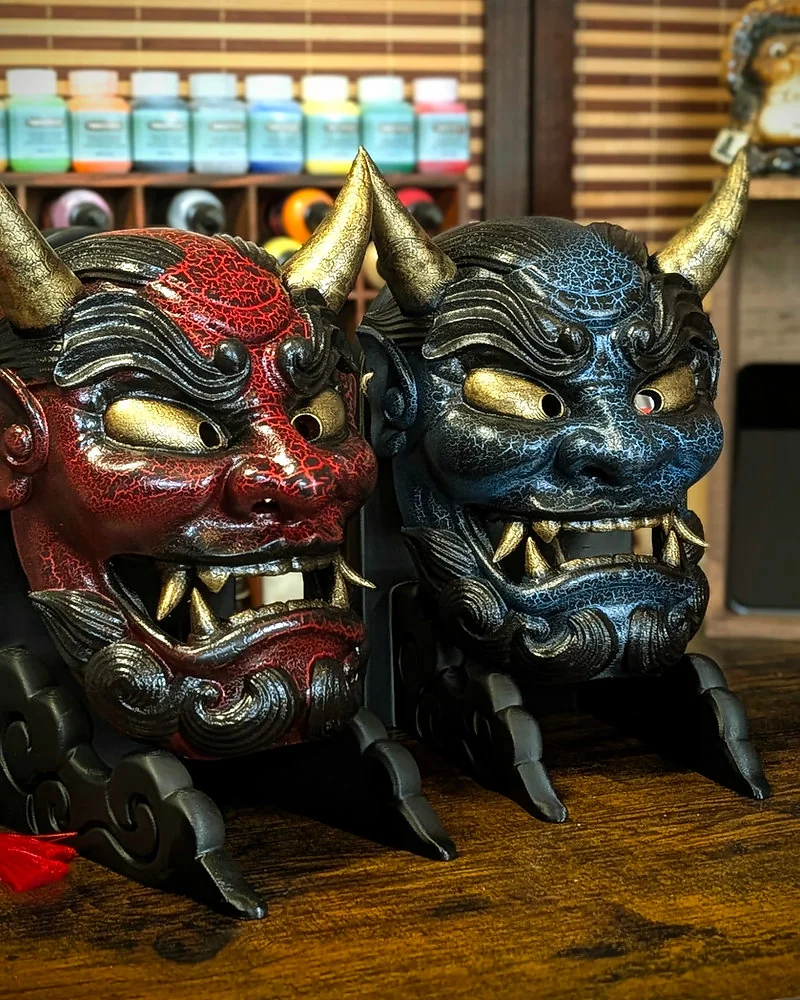
An Oni, Hannya, Kitsune or Tengu design does not have to face a particular door or belong in a prescribed room. Dai Yokai pieces are contemporary Japanese-inspired creations, not ritual objects installed according to a universal household rule. Place the mask where its color, expression and scale work for you, while keeping the physical display safe.
If the cultural subject matters to the display, link it to accurate information rather than inventing a protective function. A short label can identify the design and direct visitors to a researched article about Oni, Hannya, Kitsune or Tengu imagery.
Care and periodic inspection
Dust with a clean, soft, dry microfibre cloth, following the maker’s care instructions. Do not use alcohol, solvents, household spray or abrasive material on a hand-painted finish. Support the mask with both hands when removing it and place it on a clean padded surface.
Inspect the wall fixing, hook, mask attachment and nearby paint periodically, and after any impact, building work or move. Stop displaying the mask if the fixing loosens, the attachment cracks or the piece no longer sits securely. Photograph damage and contact the maker before attempting heat or structural repair.
Dai Yokai display guidance
Dai Yokai masks are contemporary pieces printed in PETG, then sanded, primed, painted, varnished and finished by hand in Brittany. Dimensions, weight, depth and hanging arrangements can vary by model. Check the exact product page and contact the workshop if the attachment method is not documented.
Browse the handmade Japanese-inspired masks, read the mask wearing and care guide, compare PETG, PLA and resin masks, or contact the workshop before planning a custom display.
FAQ
What is the safest way to display a Japanese mask?
Start with the finished weight, dimensions, centre of gravity and intended hanging point. Then identify the wall material and choose hardware rated by its manufacturer for that substrate and load. Keep the mask away from direct sun, heat and places where a fall could injure someone. If the support is unclear, use a stable stand or ask a professional installer.
What type of hook should you use for a mask?
There is no universal hook. The correct choice depends on whether the wall is drywall, plaster, wood, masonry or tile, and on the mask’s hanging point and depth. Use hardware whose instructions explicitly cover the substrate and load. Do not suspend a mask from a horn, decorative projection, elastic strap or unverified glued part.
Can adhesive strips hold a Japanese mask?
Only when the exact product is approved for the wall surface, temperature, object shape and total weight, and every installation step is followed. Adhesive products have exclusions and load limits. Do not stick them directly to a hand-painted mask unless the maker approves it, and do not use them over beds or for valuable pieces when the manufacturer advises against it.
How high should a Japanese mask be displayed?
Eye level is a useful starting point, not a fixed measurement. Test the position with a paper template from the main viewing point. Consider furniture, ceiling height, mask size and whether people will sit or stand nearby. The mounting point may sit above the visual centre, so measure the actual mask before drilling.
Is a stand safer than a wall mount?
A stand avoids drilling and makes repositioning easier, but it must support the mask without stressing paint, horns or thin edges. Use a broad, stable base on a level shelf with enough depth. Keep it away from shelf edges, doors, vibration, pets and children. A display case or discreet restraint can help in public or busy spaces.
What lighting is best for a displayed mask?
Use adjustable, indirect light that reveals the relief without heating the surface or creating glare. Side lighting often shows texture well, but the angle and color temperature are aesthetic choices. Avoid direct sunlight and intense lamps close to the mask. Light damage is cumulative, so reduce intensity and exposure time when possible.
Can you hang a mask above a bed or sofa?
It is safer to avoid placing a mask where a fall could strike someone, especially above beds, seating, doorways or busy circulation routes. Some adhesive-hardware manufacturers explicitly exclude use above beds. If the location cannot be changed, use an appropriate mechanical fixing and consider professional installation or secondary retention.
How do you clean a mask that is displayed on a wall?
Remove it only if you can do so safely and support it with both hands. Follow the maker’s care instructions. For a Dai Yokai mask, begin with a clean, soft, dry microfibre cloth and avoid alcohol, solvents, abrasive products and soaking. Inspect the support and attachment point while the mask is down.