A Dai Yokai mask does not come out of a mould with its final colour and finish. It begins as a digital file, becomes a PETG object printed layer by layer, and then goes through surface preparation, painting, varnishing and final inspection. Printing builds the shape. Work by hand turns that raw shape into a finished mask.
This distinction matters. Calling a mask “handmade” does not mean hiding the digital tool. It means explaining exactly where each tool is used and what actually happens in the workshop. At Dai Yokai, the base is 3D printed, then its supports are removed, its surface is prepared, colours are applied and finishing is carried out by hand, one piece at a time, in Brittany.
The making process at a glance
| Stage | What happens | What is checked |
|---|---|---|
| 1. File | Reviewing shape, scale and thin areas | Proportions, openings, relief and intended use |
| 2. Preparation | Orienting the piece and generating print instructions | Stability, necessary supports and delicate areas |
| 3. Printing | Depositing PETG layer by layer | Continuity of the piece and overall print quality |
| 4. Off the printer | Removing supports and first inspection | Edges, details, any joints and visible defects |
| 5. Manual preparation | Sanding, cleaning and priming as required | An even surface without losing the relief |
| 6. Painting | Base colours, shadows, contrasts and details | A readable expression, balanced colours and clean work |
| 7. Protection | Varnishing and drying | Final appearance and protection of the paint |
| 8. Dispatch | Inspection, cleaning and packing | The condition of the piece before shipping |
1. The 3D file defines the shape, not the finish
The starting point is a digital model. It describes the face, horns, fangs, folds, eye openings and all the raised details that give the mask its character. At this stage there is no physical material, patina or painted effect. The file is geometry that needs interpreting and preparing for production.
Different pieces need different approaches. A large display mask, a half mask and an articulated model do not have the same constraints. The depth of a detail, access for sanding, the thinness of a point or a design made of several parts all affect what follows. The aim is more than a printable shape: it is a base that can be prepared and painted without losing its expression.
This stage also influences how clearly the finished mask reads. A painted shadow cannot replace a weak shape, and good relief can become confusing if the colours ignore it. The file and painting are not independent stages. One builds the surface; the other reveals what has been built.
2. Preparing the print: orientation, supports and slicing
Before the machine starts, the file goes through slicing software. This turns the model into instructions the printer can follow layer by layer. Orientation directly affects the supports needed, the quality of certain surfaces and how print lines run across the shape.
Supports hold up areas that cannot be deposited properly into empty space. They are useful, but have consequences: supported areas often need more cleaning after printing. Stability, print quality and finishing work therefore need balancing. A horn, a pronounced eyelid or an open jaw needs a different approach from an almost flat surface.
Depending on its size and construction, a model may also consist of several parts. The principle is unchanged: each part needs a clean print and an inspection before manual work begins. Exact settings vary with the geometry. No single printing time, material quantity or amount of support applies to every mask.
3. PETG printing builds a raw base
Dai Yokai uses PETG for masks. Filament printing deposits material in successive layers until the object is formed. The result coming off the printer is solid and recognisable, but it is not yet a finished mask. Layer lines may remain visible, especially on curves and around details.
These lines are not a hidden defect. They are a normal trace of the process. Print quality matters, but does not remove the need for post-processing. That is where work by hand begins: making necessary corrections, cleaning the surface and preparing an even base for paint.
Material choice deserves its own article. The PETG, PLA or resin guide compares the three without confusing strength, fine detail and intended use. Here the essential point is simple: PETG provides the mask's structure, while preparation and painting create its final appearance. Manufacturer UltiMaker describes PETG as combining strength, toughness and wear resistance; results also depend on the printer, filament and orientation.
4. Removing supports and inspecting the piece
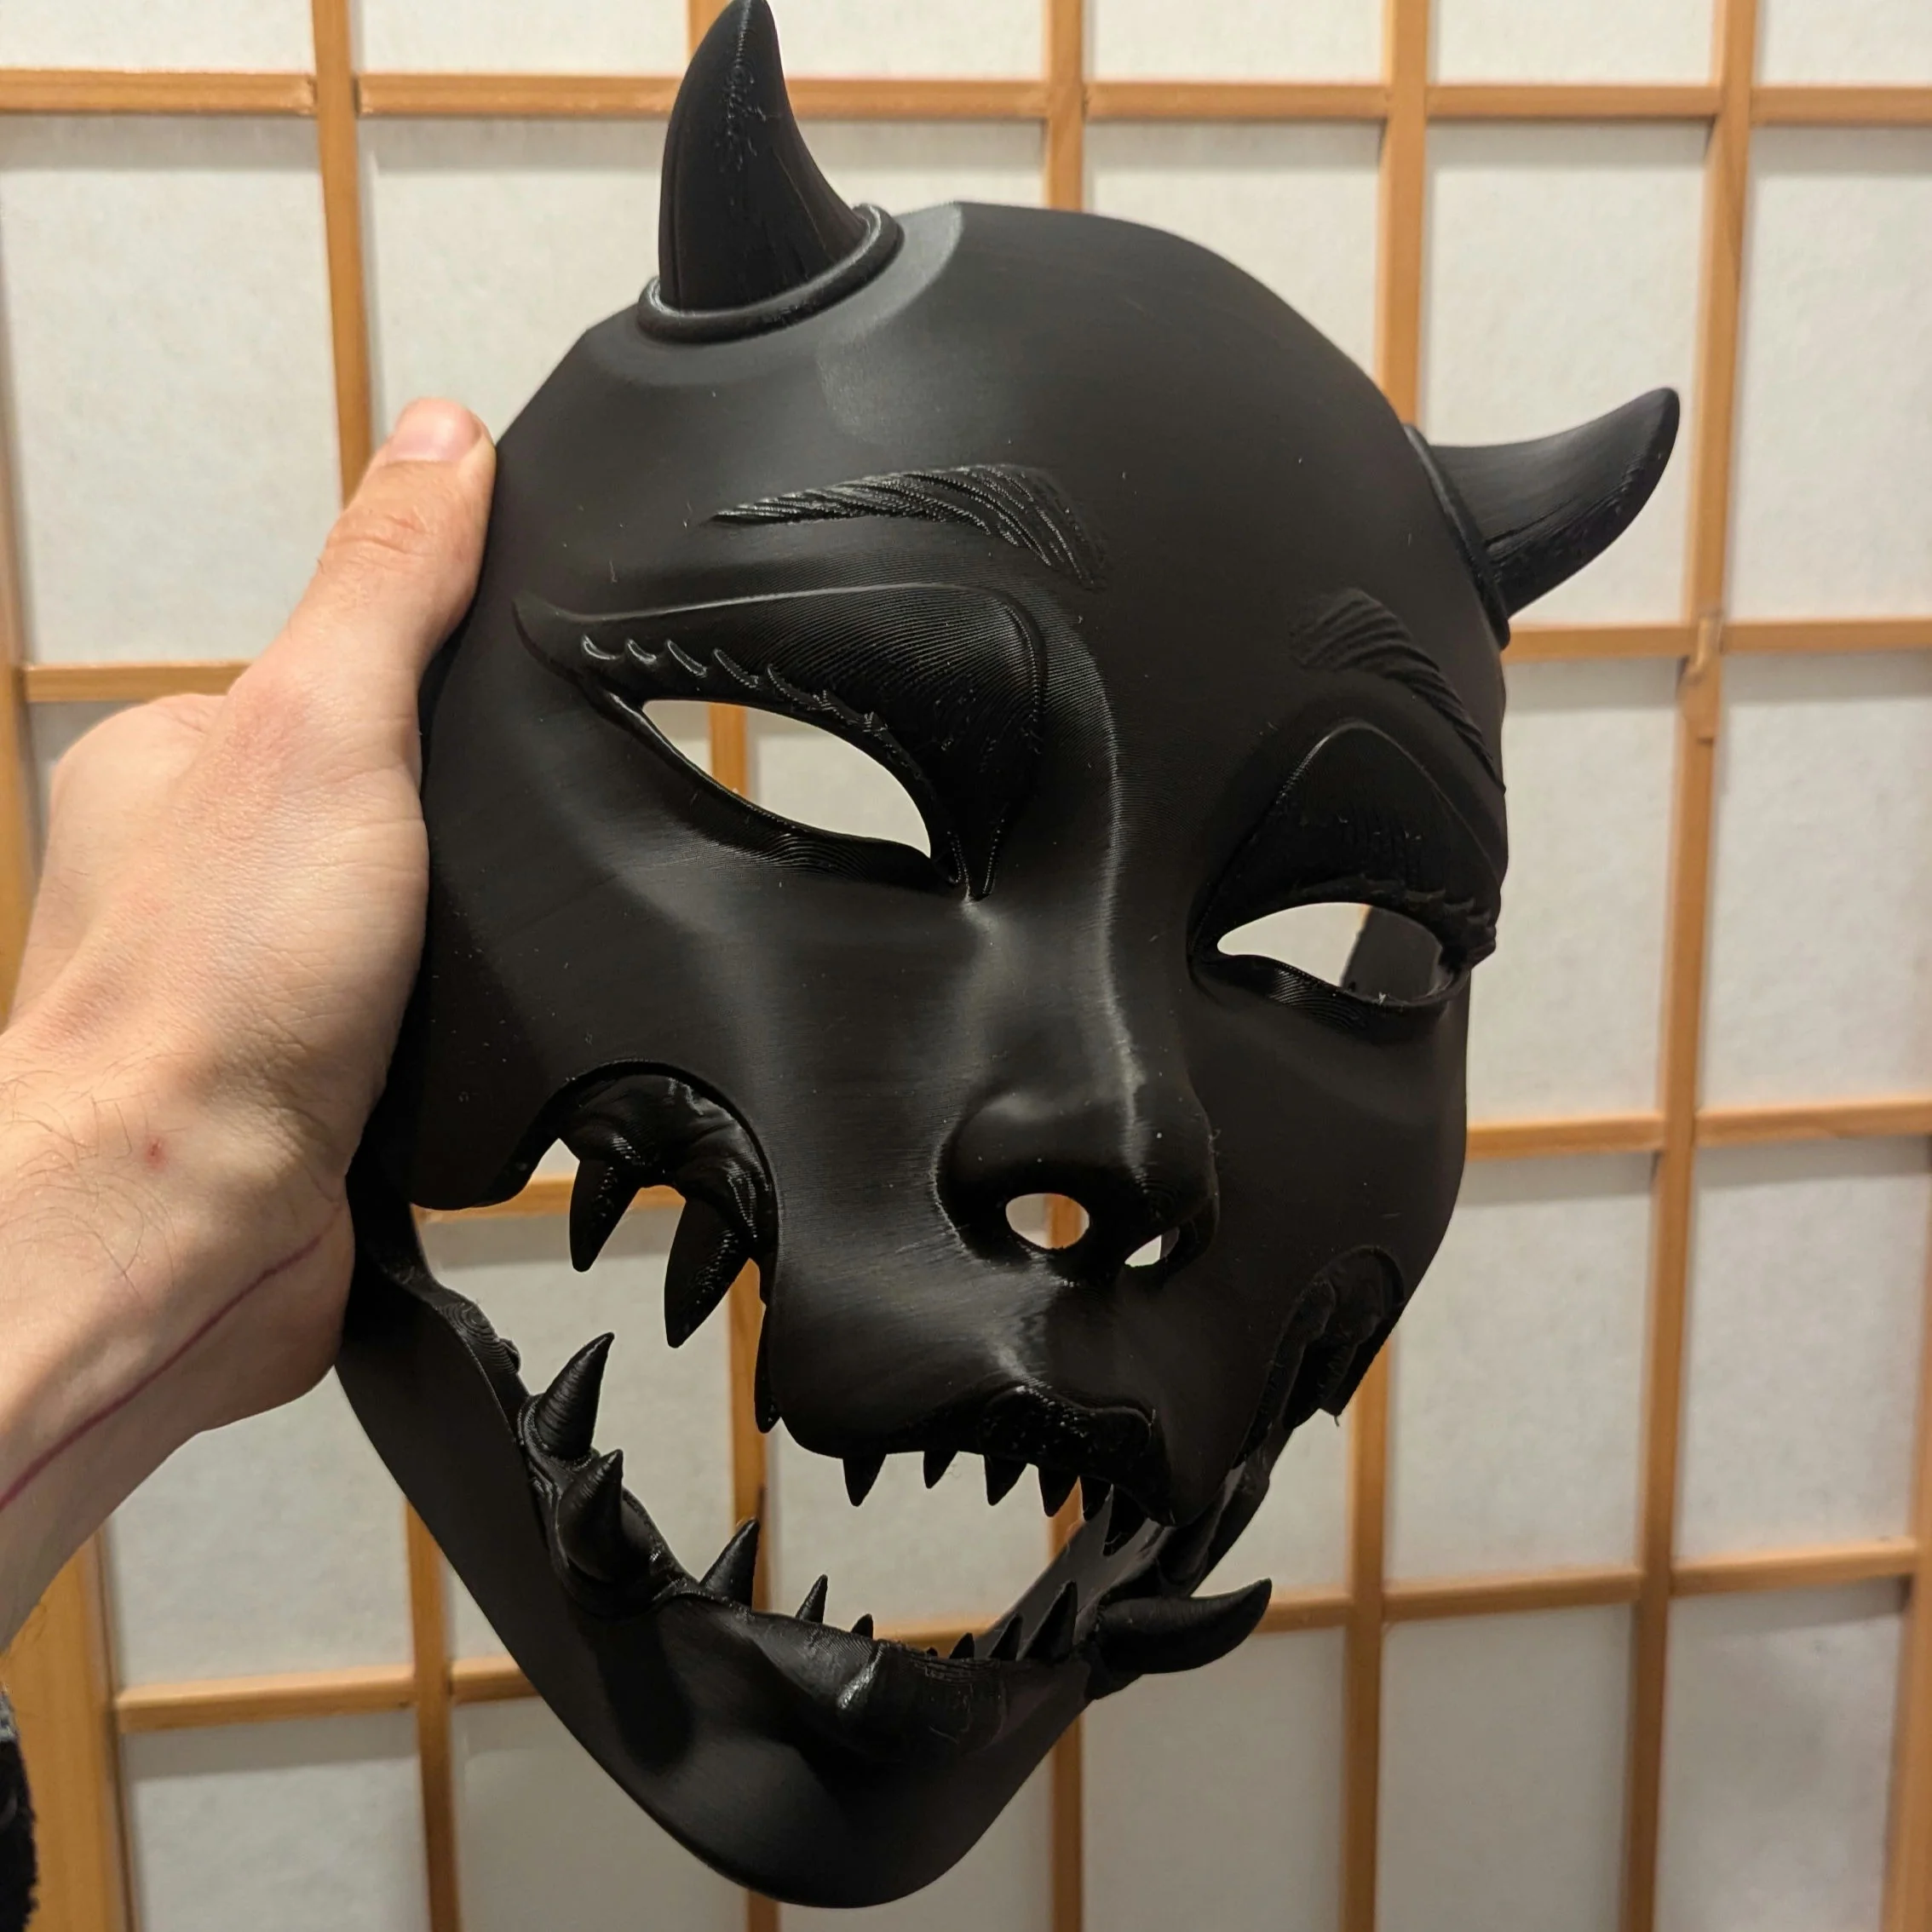
Once printing is complete, any supports are removed. This requires care around thin areas. It is not a matter of quickly pulling off everything that sticks out: points, teeth, eye edges and small details contribute to the mask's expression and must stay clear.
The first inspection checks the piece before time is spent finishing it. Broad surfaces, joins, details and openings are examined. Where a model consists of several parts, their fit must also be consistent. Moving parts on articulated models need specific checks, while choosing and using a moving jaw is covered in a separate guide.
This prevents painting a base that still needs correction. It also marks the boundary between machine time and work at the bench. From this point on, every intervention acts directly on the object.
5. Sanding and primer: work that disappears beneath the finish
Sanding is less striking in photographs than other stages, but it is one of the most important. It reduces print lines and evens out the surface before colour is added. The movement must follow curves without flattening relief. A broad cheek allows regular strokes. An eye contour, horn or row of teeth needs slower work.
The aim is not to make every piece artificially identical. It is to create a clean base suited to the intended appearance. Some textures are deliberately retained or emphasised through paint. Other areas need smoothing so that light and gradients remain clear. Preparation depends on the mask, rather than a recipe applied mechanically.
After sanding, dust must be removed. Primer can then even out the base and reveal flaws that were less obvious on raw PETG. If an area is unsatisfactory, it returns to preparation before painting. Formlabs' post-processing guides describe the same general sequence: preparation, primer, surface inspection, dust removal, painting and protection.
This work also needs an appropriate workspace. Sanding creates dust, and some products may produce aerosols or vapours when applied. INRS recommends prioritising extraction at source and ventilation, with protection adapted to the products and their safety data sheets. This is more than simply “wearing a mask”: dust, aerosols and vapours do not necessarily require the same filter.
6. Painting by hand: building the face in layers
Painting does more than cover PETG in a single colour. It shapes how the mask reads. A base establishes the overall shade. Shadows reinforce the eye sockets, nose, folds and recesses. Highlights bring out edges. Details on teeth, horns, eyes and patterns complete the expression.
Depending on the intended result, broad colour areas and gradients may be worked with an airbrush, while details and corrections use a brush. The tool depends on the area. A broad transition across a cheek needs a different approach from a fine line around an eye or a patina on a tooth.
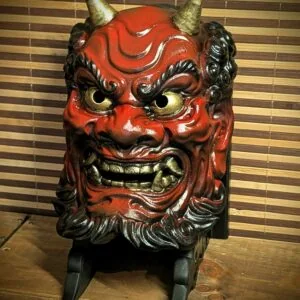
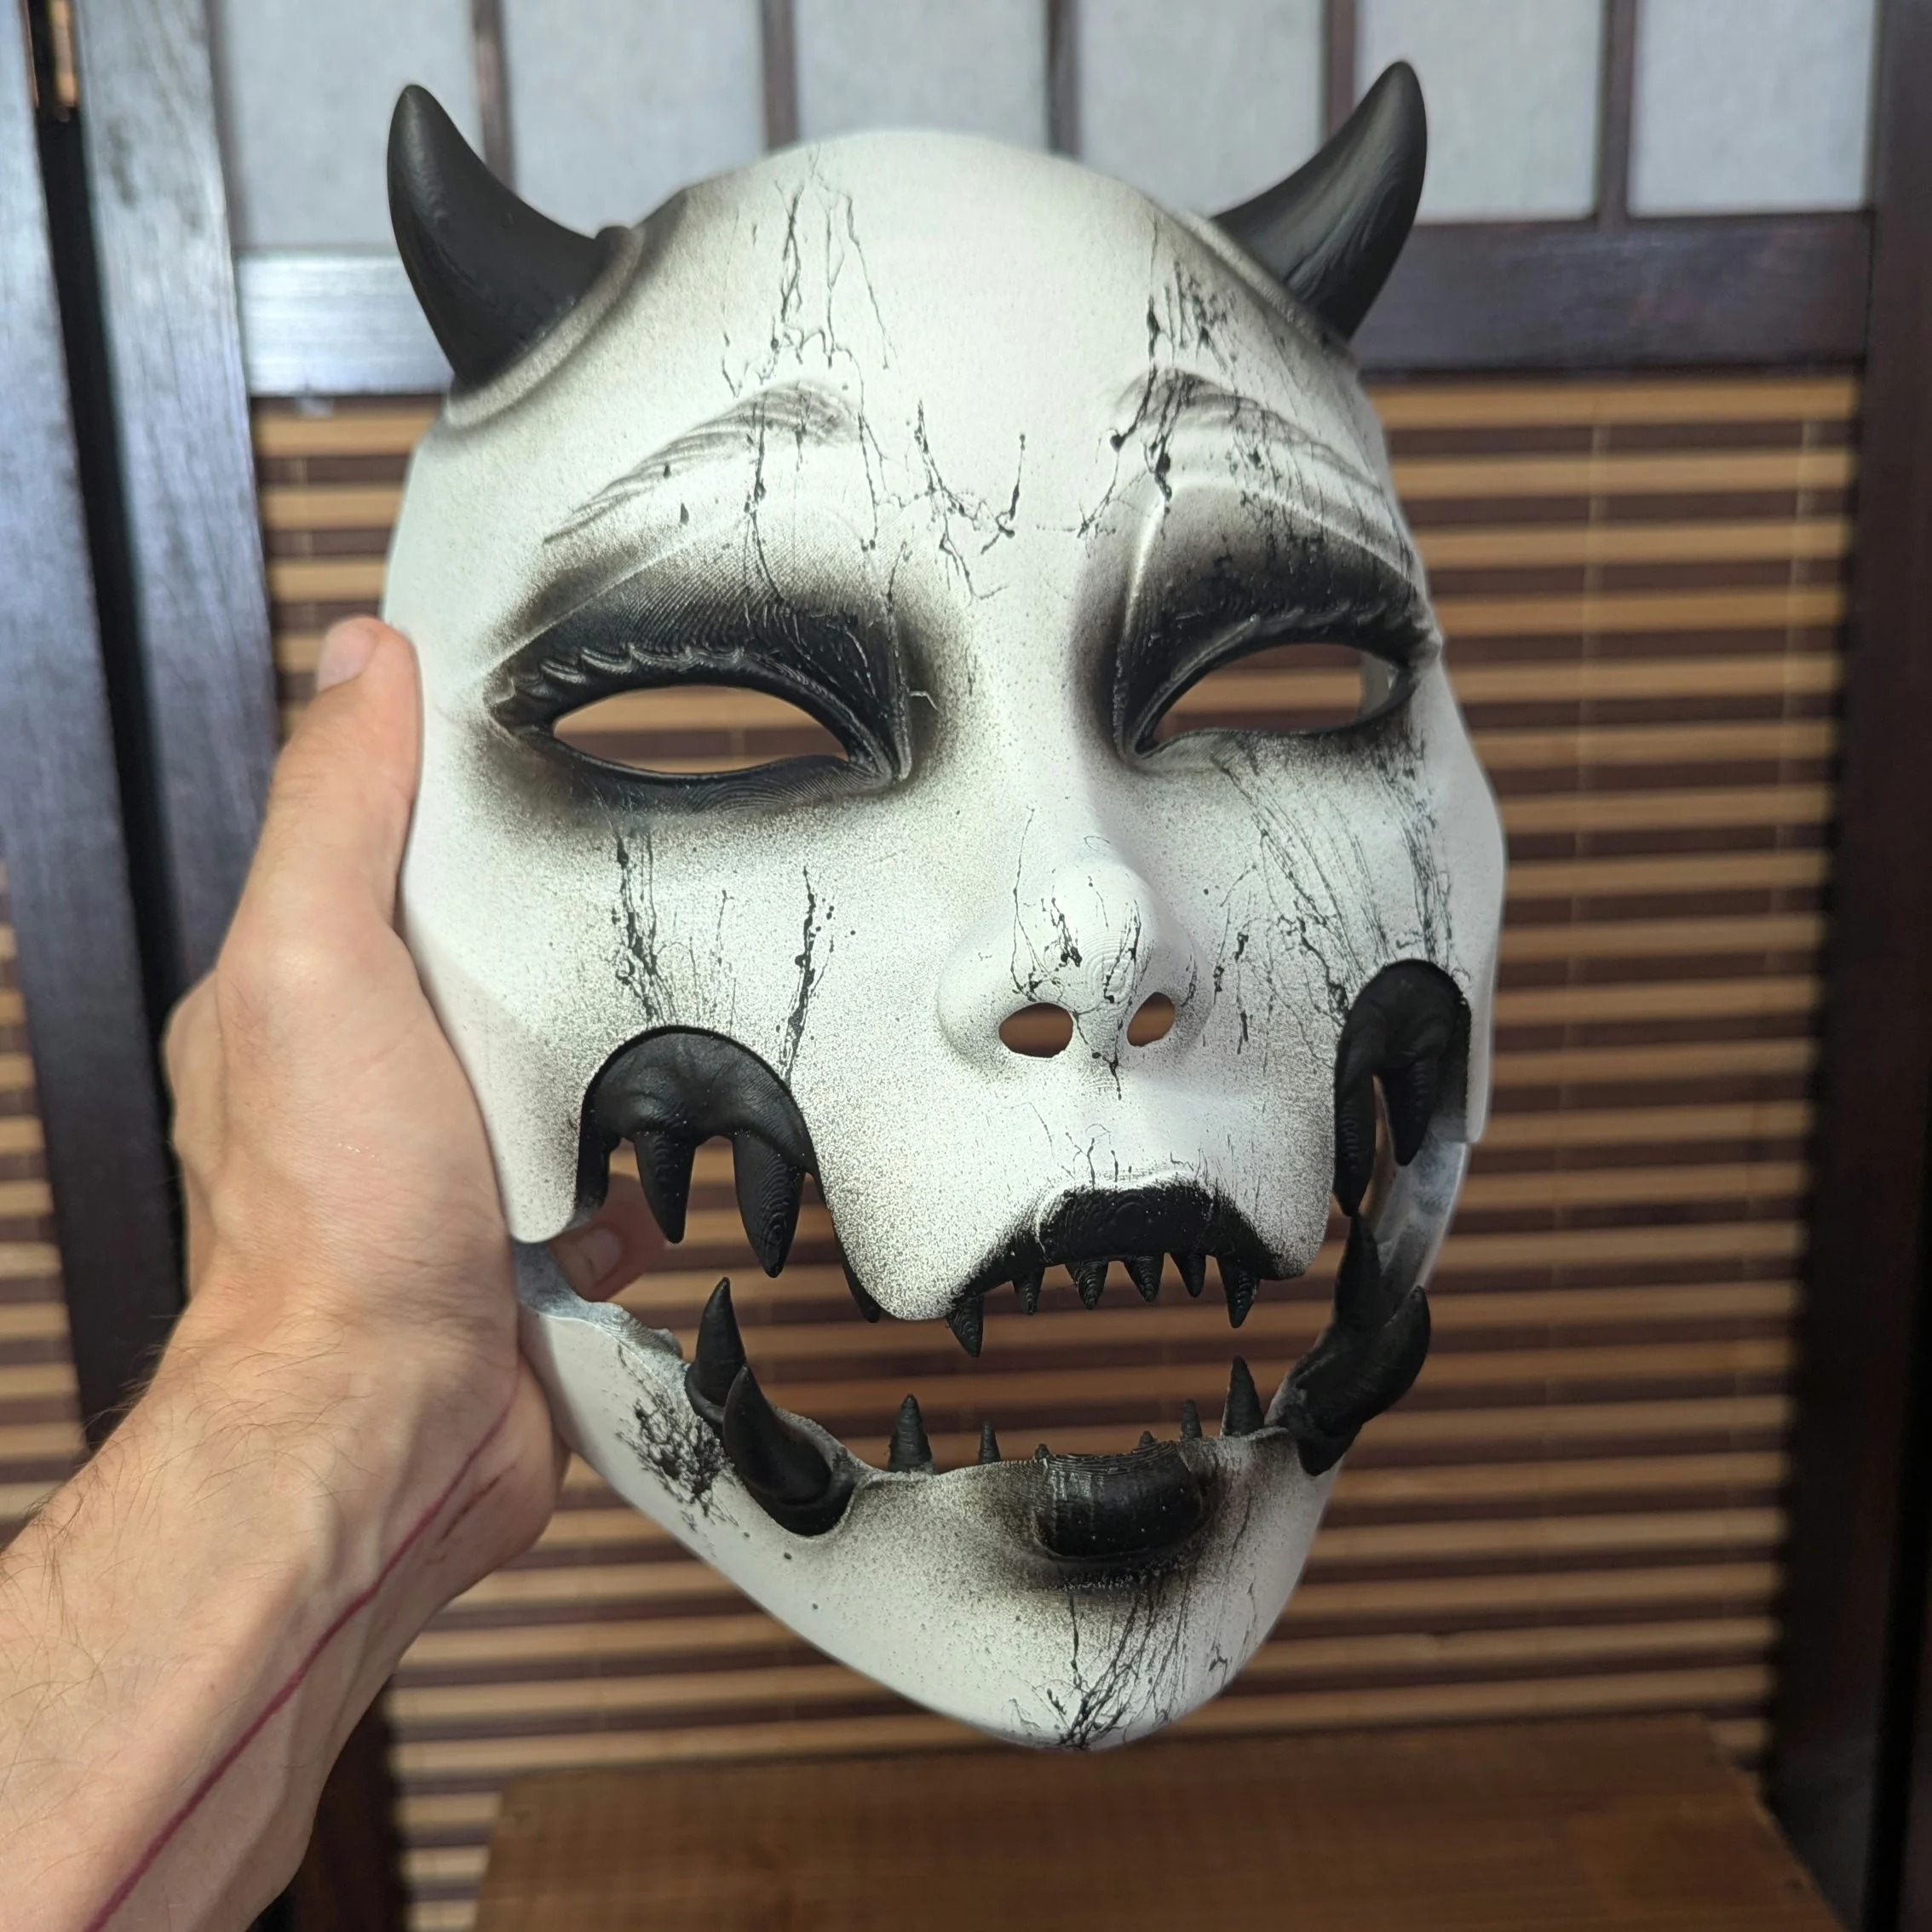
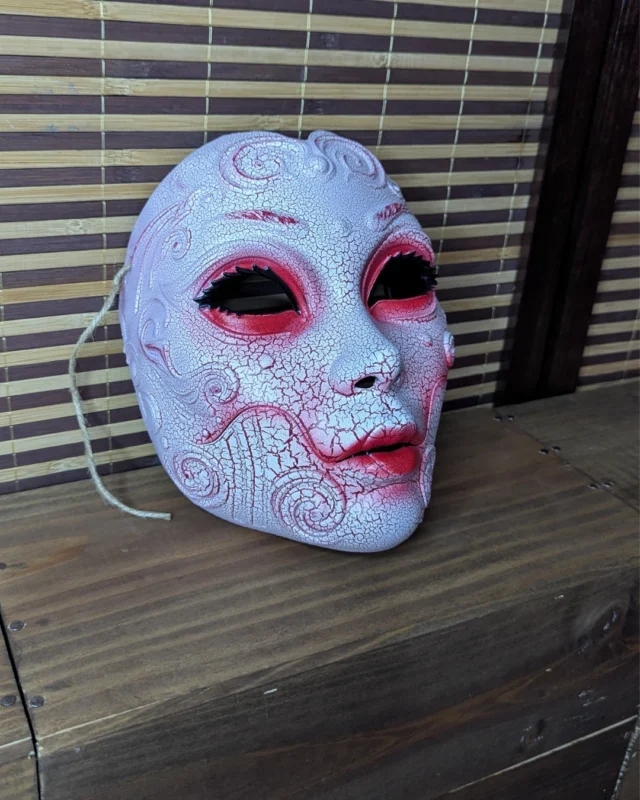
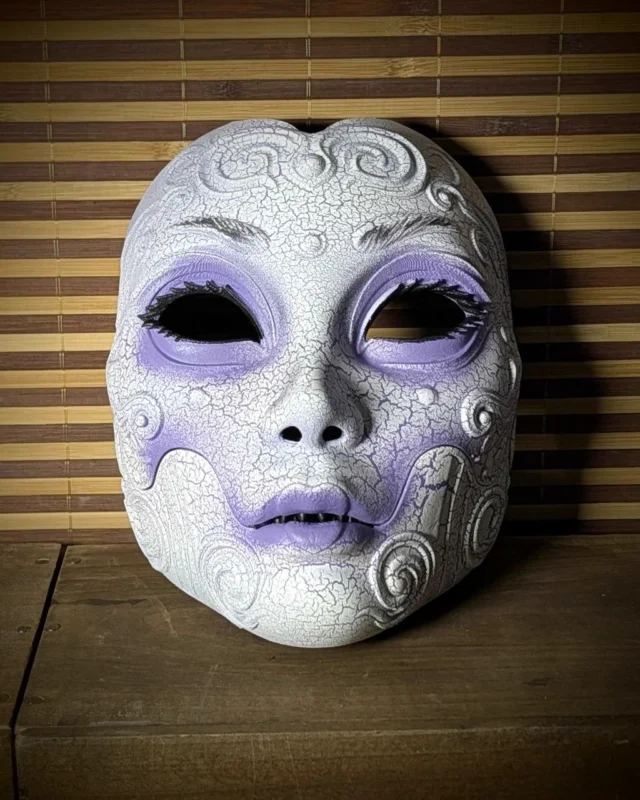
This is also where the same model can take very different directions. Red, black and gold give a different impression from a cracked white finish or a cool gradient. Colour should serve the shapes rather than hide them. A well-placed shadow deepens relief; an overly uniform coat can flatten it.
Two hand-painted pieces are therefore not clones. The overall design, ordered palette and standard of finish remain consistent, but gradients, marks and shades may vary slightly. That variation is not an excuse for uneven work. It is the normal result of finishing individual pieces by hand.
7. Varnishing and drying: protecting the paint without overwhelming it
Varnish protects the paint and establishes the final appearance. Whether matt, satin or gloss, it also changes how light moves across the face. Gloss increases reflections and deep colours. A more matt finish softens the light and can give a more mineral appearance. The choice depends on the model and the intended result.
Drying is part of production. A surface that feels dry is not necessarily ready for handling, assembly or packing. Layers need time to stabilise rather than being rushed to save a few hours. This is one reason the time needed for a piece never equals printing time alone.
8. Assembly, inspection and packing
Not all masks need the same assembly. A simple display piece and a mask made of several parts do not follow the same final stages. Fixings, accessories and moving parts are checked when they belong to the model. This is separate from painting: a good surface cannot compensate for poorly fitted assembly.
Before dispatch, the piece is inspected as a whole. Attention moves from broad surfaces to details and then functional areas. The aim is to catch things that might be missed by looking only at a front-facing photograph.
- The surface is clean and painting is consistent across the main areas.
- Important relief, eyes, teeth and horns remain clearly defined.
- The varnish matches the intended appearance, with no obviously missed areas.
- Edges and openings are checked before handling or possible wear.
- Fixings, joints and moving parts are checked where present.
- The mask is packed to limit movement and impacts during transport.
Final inspection does not promise a piece identical to a photograph pixel for pixel. It means the mask is examined as a complete object before packing. For advice after delivery, the guide to wearing, comfort and care of PETG masks explains handling and limits of use.
Why does making a mask take time?
The lead time combines different kinds of work: machine time, support removal, manual preparation, corrections, painting passes, drying and inspection. Some stages can be organised alongside one another in the workshop, but drying cannot be compressed and a complex surface cannot be finished in a single movement.
Visual complexity does not always follow size. A small, detailed half mask can need considerable precision. A large mask with broad surfaces can require more preparation. A cracked finish, a gradient or several colours also need different planning from a simple finish. The relevant lead time is therefore the one given for the particular order, not a universal duration repeated for every model.
The price covers the object and this process. Printing provides a reproducible base. Work by hand adds preparation, colour, corrections and inspection. This combination distinguishes a finished mask from a raw print or an industrial product simply coloured in a batch.
What “handmade” means at Dai Yokai
At Dai Yokai, “handmade” does not mean carved from a block of wood or moulded using a traditional Japanese technique. The masks are contemporary creations inspired by Japanese folklore and visual traditions. Their production combines a digital tool, PETG printing and finishing by hand.
This wording avoids two misunderstandings. A Dai Yokai mask is not presented as an antique Noh theatre, ritual or armour mask. Nor does 3D printing remove the work done by hand: it replaces the manual construction of the shape, not the preparation, painting and finishing of each piece.
The workshop is a one-person microbusiness in Brittany. An ordered piece does not move down an industrial painting line. The same maker follows it from the start to packing. The About Dai Yokai page explains this context, while the guide to where to buy a hand-painted Japanese mask describes the ways to order.
Masks made using this process
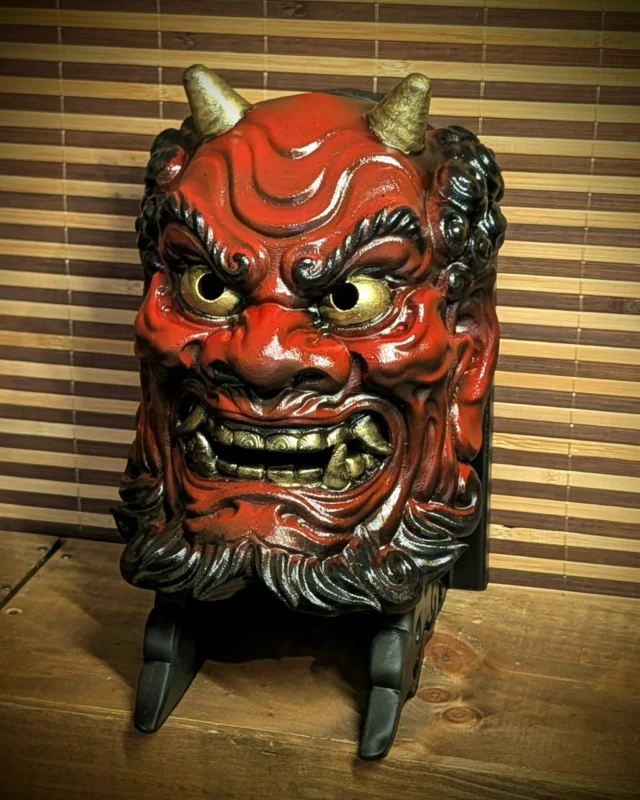
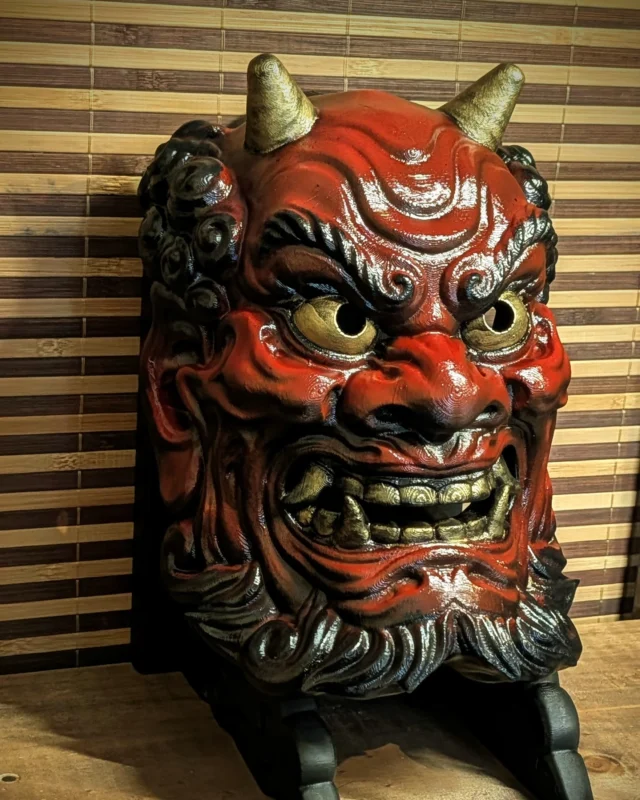
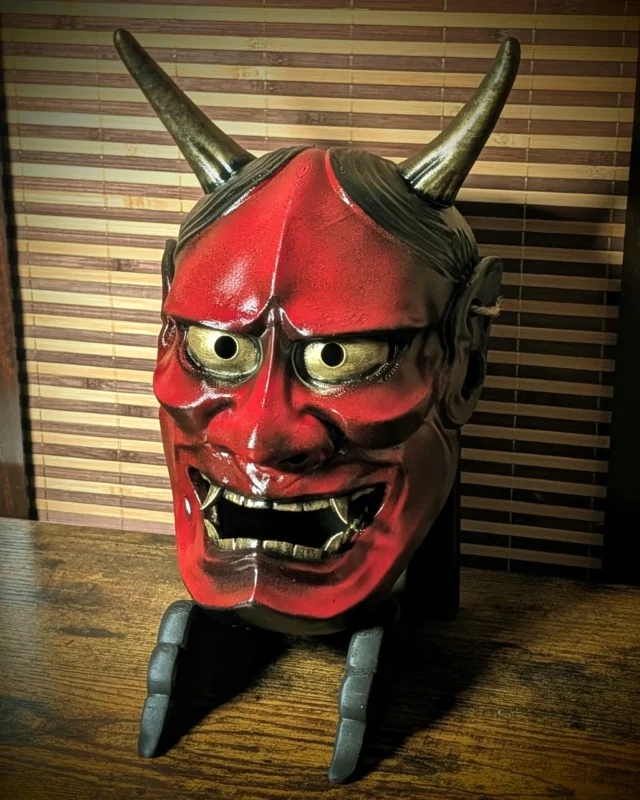
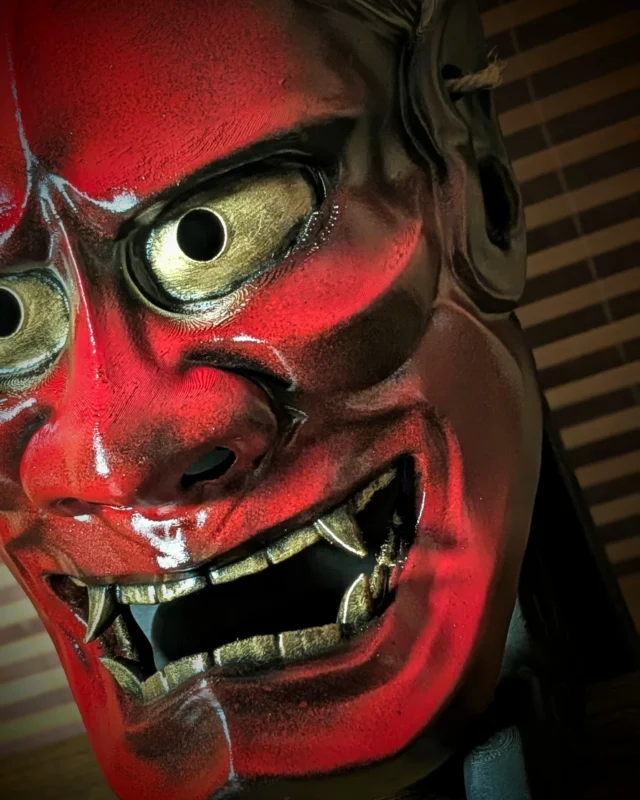
The principle remains the same across families, but shapes and painting vary considerably. An Oni needs its fangs, horns and facial masses to stand out. A Hannya relies more on curves, eyes and tension in its expression. An articulated mask adds parts that need fitting and checking. These three examples are offered in the shop.
Technical references for this explanation
- UltiMaker, PETG properties, for the material's general characteristics.
- Formlabs, priming and painting printed parts, for preparation, dust removal, painting and protection.
- INRS, collective protection, for extraction at source and ventilation, alongside its dust guidance and the safety data sheets for the products used.
FAQ: making a Dai Yokai mask
What are the stages of making a Dai Yokai mask?
The process covers the digital file, print preparation, PETG printing, support removal, sanding and primer, painting by hand, varnishing, then inspection and packing.
Can a 3D-printed mask really be handmade?
Yes, provided the process is described honestly. Printing builds the shape. Support removal, surface preparation, painting, details, varnishing and inspection are carried out by hand on each piece.
Why are lines visible on a raw mask?
Filament printing builds the piece in successive layers, so visible lines on a raw base are normal. Sanding, primer and paint then smooth or incorporate that texture according to the intended finish.
Why does Dai Yokai use PETG?
PETG offers a useful balance of strength and toughness for a mask. Material choice alone does not produce a good finish: preparation and painting remain essential.
How long does making a mask take?
There is no single duration for every model. Time depends on geometry, supports, preparation, painting, drying and any assembly. The applicable lead time is the one given when ordering.
Are two examples of the same mask identical?
The model, palette and overall finish remain consistent, but gradients, patinas and small details can vary slightly. This is a normal consequence of painting by hand rather than industrial production.
Can every Dai Yokai mask be worn?
No. Use depends on the model, openings, fixings and design. Check the product page. A display mask should not be assumed suitable for cosplay simply because it is face-sized.
How should I care for the paint and varnish?
Handle the mask with clean hands, avoid abrasive products and follow the product page's advice. For cleaning, storage and wearing, see the PETG mask care guide.